


Table of Contents
As Jewelry Shopping Guide editors, we write about things that we love and we think you’ll like too. We often have affiliate partnerships, and may generate some revenue from these links at no cost to you.
Body piercings are increasing in popularity as a way for people to express their personality and style through jewelry. Ear stretching or ear gauging is part of that trend with more and more people adopting what was once deemed as a very alternative look.
Before you commit, learn all about what’s involved below.
What Is a Gauge?
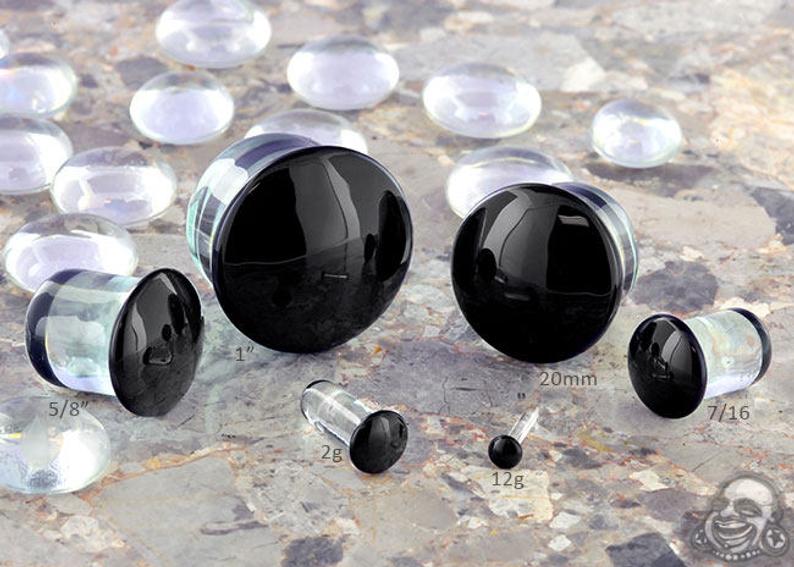
Ear gauging or stretching is the practice of slowly stretching a piercing to a wider gauge. ‘Gauge’ is the term used to describe the width of an earring post and how big a piercing hole needs to be to accommodate it. It is measured in millimeters and expressed with a ‘g’ measurement.
A regular ear piercing is 18g which is about 1mm. A wider gauge is reflected as a smaller gauge measurement: for example, a 14g is 1.6mm; 2g is 6.5mm, and 00g is 9.3mm. Anything wider than a 00g is expressed as quarters of an inch up to an inch. Once a piercing has stretched to the desired width, a ‘plug’ or ‘tunnel’ would be worn in place of regular earrings.
Ear Stretching Methods
The three most popular stretching methods are:
1. Single-Flare Glass
Stretching with single-flare glass plugs involves slowly using larger and larger glass plugs in a piercing until you reach your desired gauge size. It is considered one of the safest ways to stretch ears as you can easily keep track of sizing increments to ensure that you don’t skip sizes. Glass is also non-porous which makes it an ideal material for stretching a piercing as it is easy to keep clean. The backs of single-flare glass plugs are also rounded which makes them slightly easier to insert into a piercing.
2. Tapers
Tapers are another common tool used for stretching piercings. They are a single conical tool that gradually stretches a piercing as it is pushed through. Tapers should be worn using the narrowest end first, and slowly be pushed through until you reach your desired gauge width and can replace it with an earring. It should be noted that tapers can easily be misused as they can be forced through to a gauge that is too big, too early. This can result in a tear in the earlobe instead of a stretch.
3. Taping
To stretch your piercing by taping, you would wrap an earring with medical-grade tape to make the gauge thicker and wear it in your piercing. As your piercing stretches, you would slowly add more tape until the piercing is stretched to your desired gauge. Like tapers, it can be easy to wrap too much tape around an earring causing a tear. Also, because the tape is porous, there is an increased risk of bacteria getting caught in the tape and causing an infection. To combat this, the tape should be replaced daily if possible.
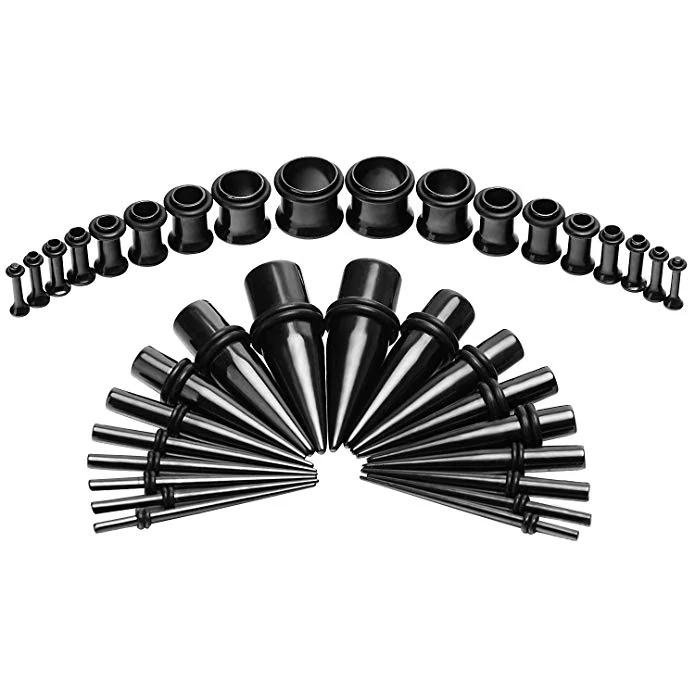
What You Need to Stretch Your Piercings
Basically, you need two things to get your ear stretching process on the road – digital calipers and the ear stretching kit. Calipers are very accurate scientific measuring tools that can measure millimeters and will be necessary for measuring your gauge and piercing.

How to Stretch Your Piercings
Before you start, it’s nice to have a bit of an idea about what gauge you are aiming for. Many people will only have an image of a very stretched piercing in their minds, but many plugs and tunnels are available as small as 8g (3mm). You can always stretch your ears further than your initial desired width. If you want to go smaller it can be more complicated.
If your ears are stretched correctly, then you should be able to downsize your gauge size, but this also depends on the elasticity of your ears. Most professional piercers would suggest stopping at 2g if you want to increase your chances of being able to close your piercing completely. Just remember that there is no guarantee that this will happen – no matter how small your stretch. You can, however, give yourself the best shot of a beautiful stretched piercing that can bounce back by stretching slowly, size by size.
If you have well-established piercings that you wear earrings in regularly, start with a 14g stretch which is slightly larger than a regular piercing. If you’ve only just had your ears pierced, start with a 16g and don’t stretch the piercing until after it has completely healed.
Now that you’re ready, here’s how to do it:
- Make sure your hair is up and that your ears are clean. Also, make sure you wear gloves and wash your hands thoroughly to help prevent infection.
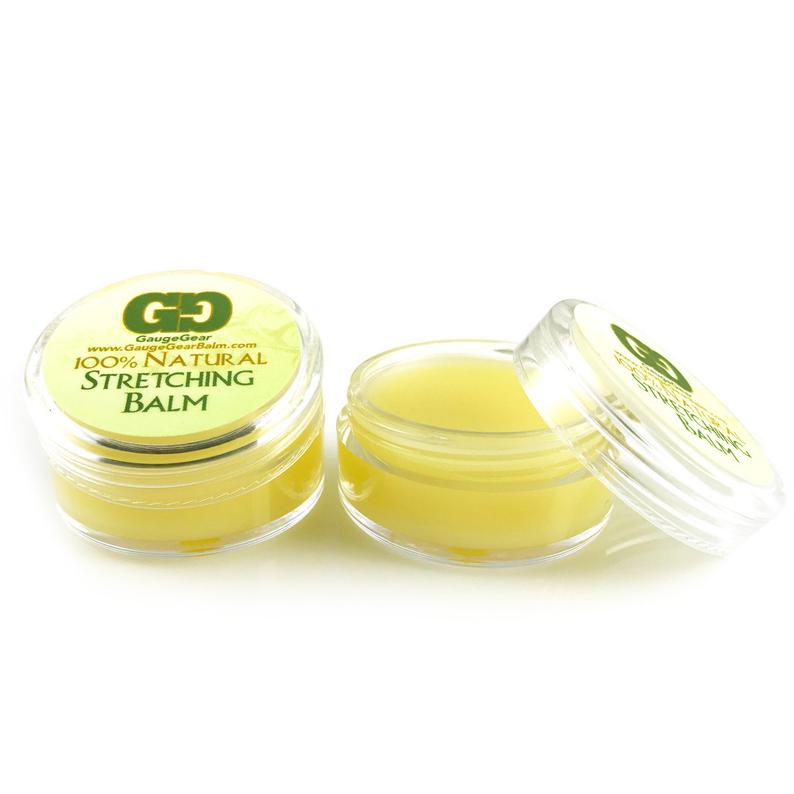
- To put the stretcher in, start by lubricating your earlobe and the stretcher. Natural, unscented lubricants and balms are best as they generally contain fewer irritants. Jojoba oil or Vitamin E oil will work well, but if you are unsure, purchase specially formulated oil for ear stretching from your piercer.
- If you are stretching with a taper, make sure you slide it all the way through to the larger end. Don’t worry if you can’t do this on your first try. Just keep your taper lubricated and insert it bit by bit very slowly. Rushing this process can result in a tear. Once the taper is in, follow up with the plug to secure it. Once you have your stretcher in its place, keep it there for at least six weeks. Also, be sure to wash your ears two times a day in the few weeks after inserting a new stretcher.
- Six weeks to two months is the recommended stretching time for 16-12g stretches, but keep in mind, there is no downside to leaving your stretcher in for longer. Playing it safe with stretching time is recommended as it gives your ears more time to stretch and heal completely. You need to allow time for your skin to stretch without tearing as tears can cause uneven stretching and can stop your piercing from closing up if you ever wanted to return your piercing to normal. Tears can also be very painful! Increased stretch time will also allow circulation to return to normal and give the ear lobe a chance to thicken up.
- Once you’ve waited at least six weeks and if your ears are feeling healthy then you’re ready for the next stretch. Only stretch one size at a time as skipping a size is the fastest way to tear your ear lobe!
- Be sure to clean and lubricate your tools and ears as per the first stretch. If you are using a taper, insert it into your ear the opposite way that you did initially. So, if it went in front to back for your first stretch, then insert it from back to front this time. Alternating will help ensure that the front and back of your lobe is stretched equally. If you are using single-flare glass or tape, you can insert normally.
- Once your gauge is up to 12-8g, you will want to leave your stretcher in for at least two months at a time as your ears will need more time to heal. For 8-2g stretches, allow at least three months and anything beyond that, allow at least four to six months. As always, remember that leaving a stretcher in as a certain size for too long will only help you move along the process smoothly. So, if you’re unsure stay at your current size!
What NOT to do
- The absolute biggest mistake you can make is skipping sizes. Even if your ears have been healing well after your first few stretches, don’t skip a size! The damage that can be caused is irreversible, so it’s best to be patient.
- Always practice good hygiene when replacing a stretcher and while your ears are healing. Keep the area clean and try to keep hair and skin care products well clear of your ears as they will be prone to infection.
- Only use stretchers that are made of glass, surgical steel, or titanium as these are the most hygienic. Organic materials such as wood are beautiful, but also porous which means that they can harbor bacteria. Silicone and acrylic stretches are popular as they can feel more comfortable, but they aren’t as hygienic so these should only be worn for short periods (no longer than 6-8 hours). Keep all other materials for when your ears are fully healed.
- Don’t force a stretcher through your piercing if your ear is bleeding or if you feel sharp pain. Tingling is ok, but sharp pain and/or blood are signs of tearing. If this occurs, downsize your gauge and wait for your piercing to fully heal before you move on.
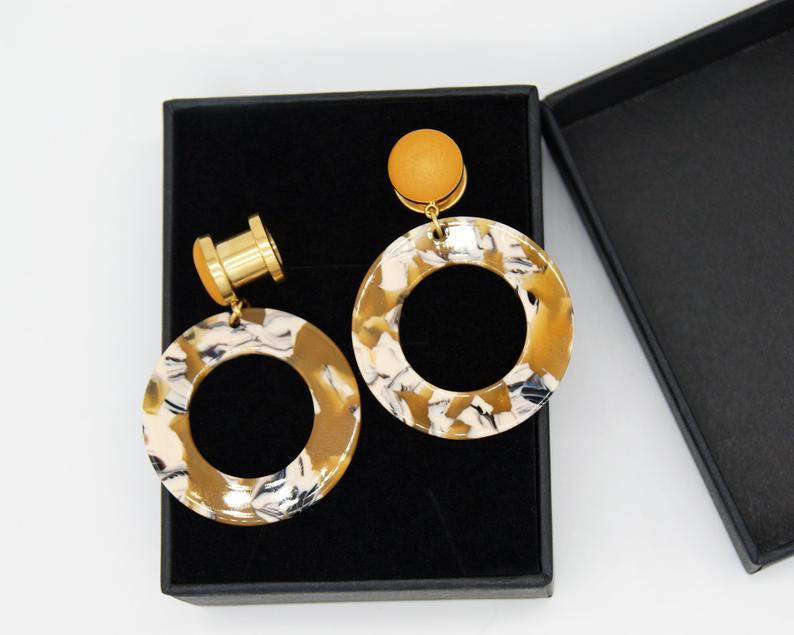
- Don’t assume that a tunnel is all you can wear in your new stretched piercing. There are many creative and fun earrings that you can wear once your piercing has healed. You can buy purpose-built dangling earrings, patterned tunnel earrings, and even wooden earrings for stretched piercings. Just be sure you keep creative options for after your piercing has healed.